
From Bottle to Soil: A Beginner’s Guide to Germinating Garlic in Water and Transferring it to the Garden


Urban gardening has emerged as a popular way to contribute to sustainability while promoting home-grown food. Even common household items such as plastic bottles can become effective tools in this process. Garlic, known for its myriad health benefits and culinary uses, is an ideal candidate for such innovative cultivation methods. In this article, we explore how to germinate garlic using only a plastic bottle and water before transferring it to soil for further growth.
Materials Needed
Before you start, ensure you have:
- Garlic Cloves: Opt for organic garlic cloves from a local farmer's market or grocery store, as non-organic ones may have been treated with growth-inhibiting chemicals.
- Plastic Bottle: A clean, transparent 2-liter soda or water bottle will suffice.
- Water: Clean, chlorine-free water is ideal. If only tap water is available, let it sit for 24 hours to allow the chlorine to evaporate.
- Potting Soil: Once your garlic has germinated, you will need good quality potting soil for transplantation.
- Pot or Garden Space: For planting the germinated garlic.
Germination Process
Step 1: Bottle Preparation

Cut off the top of the plastic bottle, leaving about two-thirds of it intact for the garlic cloves to germinate in. The bottle should be clean and free of scratches or cracks.
Step 2: Garlic Clove Selection and Preparation
Select large, healthy garlic cloves. Larger cloves generally produce bigger bulbs. Peel the outer layer off the clove but avoid damaging the clove itself.
Step 3: Positioning the Cloves

Place the garlic cloves inside the bottle, ensuring the flat end is facing downwards. This end was nearest to the bulb’s base and is where the roots will emerge. Leave some space between each clove for growth.
Step 4: Watering
Fill the bottle with enough water to cover the bottom half of the cloves. The top part should stay dry to prevent rotting.
Step 5: Placement
Put the bottle in a sunny location. Garlic needs plenty of sunlight for proper growth.
Step 6: Maintenance
Check the water daily and maintain the level to keep the roots submerged. Replace the water every two days to prevent the build-up of harmful bacteria or fungi.
Step 7: Germination

In about a week, green shoots will begin to emerge from the cloves’ tops, and roots will start to grow at their base. These signs indicate successful garlic germination.
Transplantation to Soil
Step 8: Soil Preparation
Once your garlic has germinated, prepare a pot or a section of your garden with quality potting soil. The soil should be well-draining and rich in organic matter.
Step 9: Transplanting

Carefully remove the germinated garlic cloves from the bottle, ensuring you don’t damage the roots. Plant them in the soil, positioning the cloves so the green shoots are above the soil level.
Step 10: Post-Transplantation Care
Water the newly transplanted garlic immediately, and continue to do so regularly, keeping the soil consistently moist but not waterlogged. Maintain the pot or garden space in a location with plenty of sunlight.
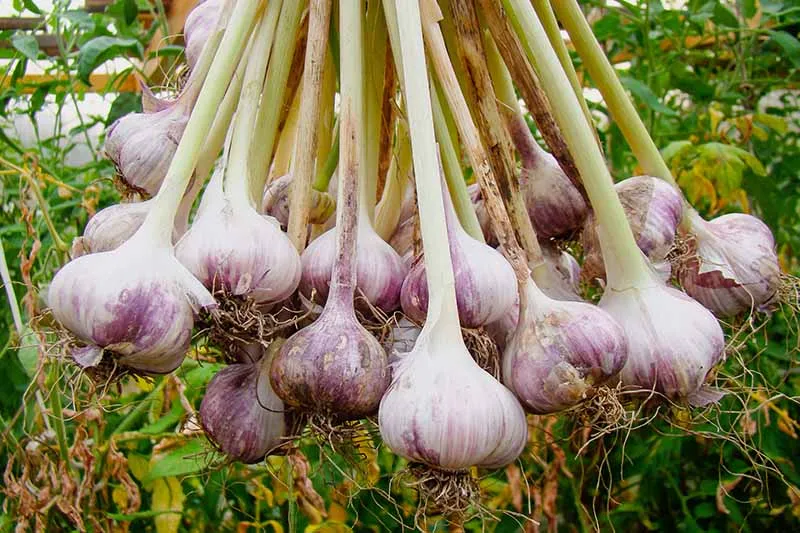
Harvesting
The garlic is ready to harvest when most of the lower leaves have turned brown, typically after 7-8 months. The exact timing can vary depending on the specific garlic variety and the growing conditions.
Using a plastic bottle and water for garlic germination is not only sustainable and space-efficient, but it also provides a fun and practical prelude to soil planting. This method reduces waste by repurposing plastic bottles and facilitates a smoother transition for the plant from germination to soil growth. Welcome to the joy of gardening, where even the smallest efforts can yield the most flavorful rewards.
Source: https://craftygoldenmom.com
DISCLAIMER: THIS WEBSITE DOES NOT PROVIDE MEDICAL ADVICE The information, including but not limited to, text, graphics, images and other material contained on this website are for informational purposes only. The purpose of this website is to promote broad consumer understanding and knowledge of various health topics. It is not intended to be a substitute for professional medical advice, diagnosis or treatment. Always seek the advice of your physician or other qualified health care provider with any questions you may have regarding a medical condition or treatment and before undertaking a new health care regimen, and never disregard professional medical advice or delay in seeking it because of something you have read on this website.